

Medical Clinic WordPress Theme is a superbly designed theme that is all set to help you create any awesome medical or health-related website in no time. The theme is implemented on a bootstrap framework that makes it smoother to work with it. This premium theme has all the advanced options for personalization. It has advanced color options and color pallets to make your site more eye-catchy and colorful. With the advance slider, you can upload a number of slider images together.
There are 100+ font family options available to select from. Also, it is fully integrated with a font awesome icon. With the background image option, a parallax image background section is available. It looks perfect on any device screen size, be it desktop, mobile, or tabs. It is SEO-friendly which means you don’t have to put much effort to rank your website on major search engines like Google. It is cross-browser compatible and shows compatibility with major WordPress plugins like Contact Form 7, WooCommerce, Mailchimp, etc.
Unlock 100+ WordPress Themes with Our All in One WordPress Bundle
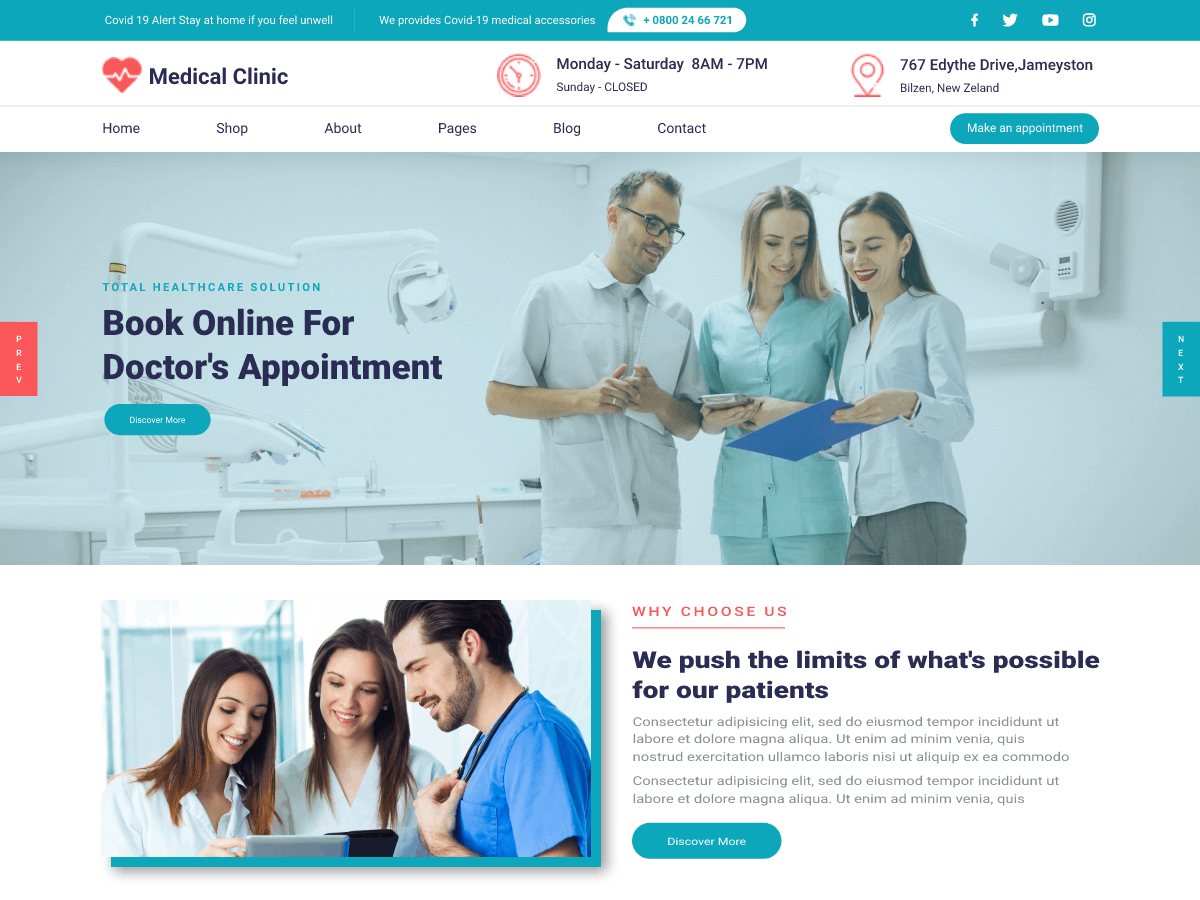
Medical Clinic WordPress Theme
Medical Clinic WordPress Theme
As it is a premium theme, you get 24*7 support from our dedicated team. You can send a query to our team if you ever run into any problem. Anyone can use our theme including users who are beginners to advance developers. It comes with well documentation. You can import dummy content in just one-click. With the advance social media option you can connect all your social media pages to the site to show your credibility. If you know coding, you can add custom shortcodes and CSS/JS too.
Other options and features included in Medical Clinic WordPress Theme are: custom page templates, various inner page templates, customizable home page, simple menu option, favicon, logo, title and tagline customization, enable/disable options on all sections, left sidebar and right sidebar, footer editing options, editor style and footer widgets, full-width template, and much more. Customizer API is used for using theme options. You can add a blog post and page about your institute, achievements, medical news and so on. So don’t think twice and choose this premium theme today and start creating your dream website with such advance options for customization.
What Features Spa WordPress Theme Has
- Accessibility Ready
- Translation Ready Themes
- Highly Customizable
- Mobile Friendly
- Super Fast
- Cleanly Coded
- Global Color Option
- Expert Support
- Retina Ready Display
- WooCommerce Compatible


WordPress Bundle - 100+ Themes
Festive Offer !! Get 30% off on the All Theme Pack of 100+ WordPress Themes.
Buy Now