How To Create A WordPress Multisite: A Comprehensive Guide
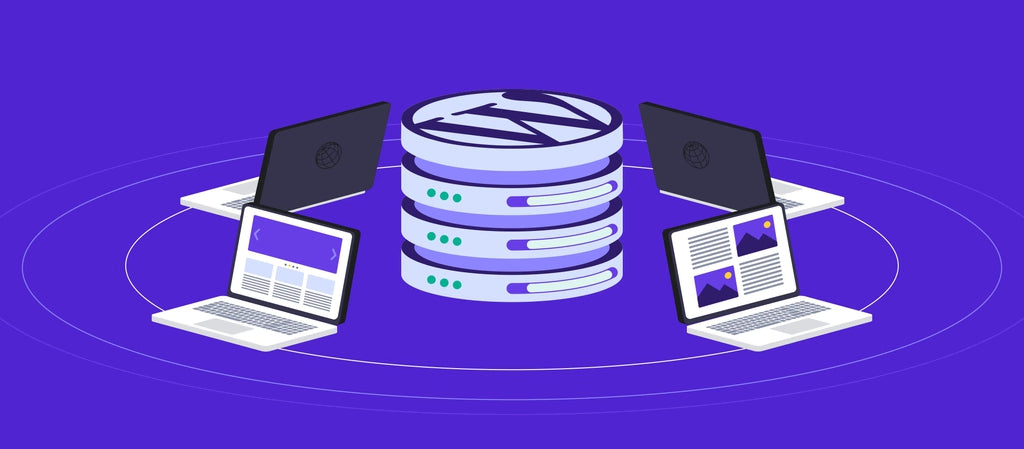
A WordPress Multisite is a network of WordPress sites that share a common configuration and are administered from a single WordPress installation. Multisite networks can be used to create and manage multiple websites from a single WordPress installation.
The WordPress Multisite feature was introduced in WordPress 3.0 and has since become one of the most popular features of WordPress. Multisite allows you to create and manage multiple WordPress websites from a single WordPress installation.
The WordPress Multisite feature is available in WordPress 3.0 and higher. In this guide, we will show you how to create a WordPress Multisite and how to add new sites to your network.
The Benefits of Using WordPress Multisite
WordPress Multisite offers a number of advantages to users, making it a perfect solution for creating and managing multiple WordPress websites. Here are some of the benefits of using WordPress Multisite:
Easier administration: With WordPress Multisite, you can easily manage all your sites from one place. You can install or update plugins and themes for all your sites simultaneously.
Savings in time and resources: With WordPress Multisite, you only need to install and maintain one installation. This reduces the time and effort spent on managing multiple installations separately.
Better security: WordPress Multisite makes it easy to apply security patches and software updates across the entire network.
Improved scalability: WordPress Multisite allows users to add more sites on the fly, and scale their network with ease.
Sharing of content and users: With WordPress Multisite, you can easily share content and users across multiple sites, reducing your workload significantly.
These are some of the many benefits of using WordPress Multisite. It's an incredibly useful tool that can make managing multiple WordPress sites much easier.
How to Create a WordPress Multisite Network
Once you've decided to use WordPress Themes on your network, the next step is to set it up. Here's how to create a WordPress Multisite network:
1. Login to Your WordPress Admin: The first step is to log in to the main WordPress site on your network. This is the site you'll use to manage your network.
2. Activate Multisite Network: Go to the 'Tools' menu and select the 'Network Setup' option. This will enable the multisite feature on your WordPress installation.
3. Define Sites Structure: Next, you'll be asked to define the super-admin and the domain structure. This will enable you to create multiple sites on your network.
4. Create New Sites: Once you have defined the structure, you'll be able to create sites on your network. You can decide the name and the address of the new site.
5. Manage Network: Finally, you can manage your network from the admin area. You can install themes and plugins for all the sites in one place, manage users and more.
Setting up a WordPress Multisite network is quick and easy. Once it's set up, you'll be able to create, manage, and maintain multiple sites from one dashboard.
Managing Your WordPress Multisite Network
Once you have created your WordPress Multisite network, you need to make sure that it runs smoothly and efficiently. Here are some tips on managing your WordPress Multisite network:
1. Properly Manage Sites: It is essential to properly manage the sites on your network. Keep track of them, monitor them, and provide the necessary resources such as storage space, bandwidth, and so on.
2. Manage Users: Another important task is managing the various users who access the network. This includes creating a list of user roles and assigning appropriate roles to users.
3. Manage Themes & Plugins: Make sure to install the right themes and plugins for the sites on your network. This helps ensure uniformity in the look and feel of your network and provides the necessary functionalities to the users.
4. Monitor Performance: Monitor your network regularly to identify and address any issues. Identify the areas where your network is performing poorly and try to optimize them.
By following the tips mentioned above, you can manage your WordPress Multisite network efficiently and ensure that it runs smoothly.
Tips and Tricks
Creating and running a WordPress Multisite network can be quite tricky. Here are some quick tips and tricks to help you get the most out of your WordPress Multisite network:
1. Keep WordPress Updated: Make sure to update your WordPress software regularly to stay up to date with security updates and features. Additionally, keep all your plugins and themes up to date to ensure your network is running smoothly.
2. Take Advantage of SSO: Use Single Sign On (SSO) to allow your users to easily access all the sites on your network with a single sign-in. This eliminates the need for multiple logins and saves time.
3. Use a Network Search Plugin: Installing a network-wide search plugin will make it easier for users to search across all the sites on your network. This can help them find the content they need easily.
4. Monitor Network Performance: Monitor your network regularly to identify and address any issues. Identify the areas where your network is performing poorly and try to optimize them.
By following the tips mentioned above, you can get the most out of your WordPress Multisite network and ensure that it is running efficiently and effectively.
Conclusion
Creating a WordPress Multisite is a great way to create a large network of websites, all hosted on the same platform. It offers a range of advantages including improved performance, better scalability, and simplified management.
It is relatively easy to set up and manage a WordPress Multisite, but it requires some maintenance. You need to keep WordPress, themes, and plugins up to date, take advantage of SSO, use network-wide search plugins, and monitor the performance of your sites.
Now that you know the basics of creating and managing a WordPress Multisite, you are well on your way to creating a powerful online presence with multiple websites.